How to Choose a Sewing Machine - a Beginner's Guide
“I’m new to sewing and don’t want to spend a fortune on a sewing machine – which model should I choose?”
Since I get this question at least once a week, I thought I’d explain it here for every one ![]()
At this point, you might be doing heaps of research, and probably starting to get a bit overwhelmed. Amiright?
To help clarify, here are three main physical differences that define domestic sewing machine types:
- Operation: Computerised or Mechanical
- Bobbin Loading: Top Loading or Front Loading
- Maximum Stitch Width: 5 mm, 7 mm or 9 mm
Computerised or Mechanical
Mechanical models tend to contain more metal parts, though generally basic in design and functionality.
Computerised models come in a great range in design, functionality, and price. They tend to be smoother and quieter, and it feels different to “drive” compares to a mechanical one.
The difference is like driving an automatic car or a manual car – some people prefer one over the other. One type isn’t necessarily more superior than the other.
Points to Consider:
- Weight: Would you be sewing in one spot? Or do you plan to take the machine to classes with you? Having more metal parts could mean that the machine is heavier.
- Noise: Do you need to sew quietly? If you do, then consider a computerised model, and perhaps use a mat underneath the machine to absorb sound and movements.
- Preference: Do you prefer to have a bit of “grunt” in your machine? If you do, then you’d probably enjoy the feel of a mechanical machine more.
Top Loading or Front Loading
Not to be confused with washing machines, ![]() ok?
ok?
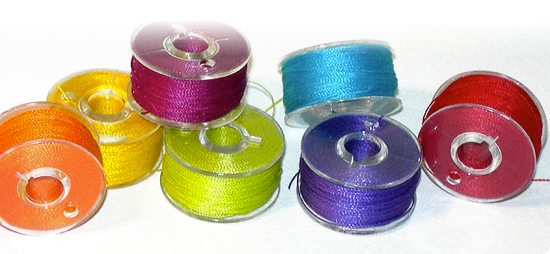
Top Loading machine has a “drop-in” bobbin, where the bobbin goes in from the top, directly underneath your needle and presser foot. The lid is usually clear so you can see the bobbin.
This type of mechanism is called “Horizontal Full Rotary Hook”, where the bobbin is driven by the machine to go round and round in full circle movements. Horizontal refers to the bobbin position – it sits horizontally in your machine and faces up.
Front Loading machine has a different spot for your bobbin. It is hidden behind the storage box, inside a trap door. You cannot see the bobbin at all until you open the trap door – and then you will see a metal bobbin case, which is removable. You put the filled bobbin inside this metal case then put whole thing back into the machine.This type of mechanism is called “Vertical Oscillating Hook”, where the bobbin goes side to side instead of completing a circle. The bobbin stays vertical inside the bobbin case.
Some people (including myself) find the Top Loading machines easier, and you can see how much thread is left on the bobbin.
Points to Consider
- Level of Ease: If you’ve never touched a sewing machine at all, then perhaps a top load is easier.
- Experience: If you learnt to sew in high school, chances are they had old-fashion Berninas which are front loading. Go with what feels comfortable and familiar to you.
- Purpose: What do you intend to sew? If you intend to use unusual threads in the bobbins (such as shirring, which you need elastic bobbin thread) then go for a front load because you can fine tune the tension in the bobbin case. Most people never need to worry about this.
Maximum Stitch Width
Generally speaking, most mid-range machines have a 7 mm maximum width, and this means you can easily find accessories and feet to suit.
Most basic (cheaper) machines have a 5 mm maximum width, and it could be tricky to find the right accessories and feet.
What about 9 mm? These models tend to be high-end, over $1000 type of fancy-schmency dream machines. As a beginner, you’re probably not going to get one ![]()
Points to Consider
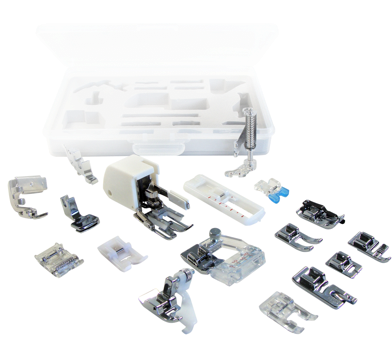
- Inclusion: What sort of feet does the machine come with? You might get better value for a machine that comes with more presser feet, even if it costs a bit more. Alternatively, grab one of our package deals.
- Functionality: How often would you need to make buttonholes? 5 mm machines tend to have only the basic 4-Step manual buttonhole ability. Consider a machine that does 1-Step auto buttonholes if you intend to make lots of shirts!
- Special Interest: If you intend to do patchwork / quilting, or evening / bridal / couture, then you might go with a 7 mm machine for more versatility. Because you just might specialty feet – such as Walking Foot or Quarter-inch Foot.
Low Shank or High Shank
In general, a machine that costs under $500 bucks most likely has LOW shank ![]()
That means you don’t have to worry about it when you’re deciding which machine to buy. Only consider this when you’re ready to get some new presser feet to play with. And you can read all about it HERE.
Ready to Choose?
So let’s consider our most budget-friendly models – and you might want to take some time to read the description and watch the video clips:
Janome JR1012 (mechanical, front load, 5mm maximum width)
Overview from Janome Canada:
(Janome JR1012 is known as G1212 in the video – and while the design might look a bit different, it’s essentially the same machine)
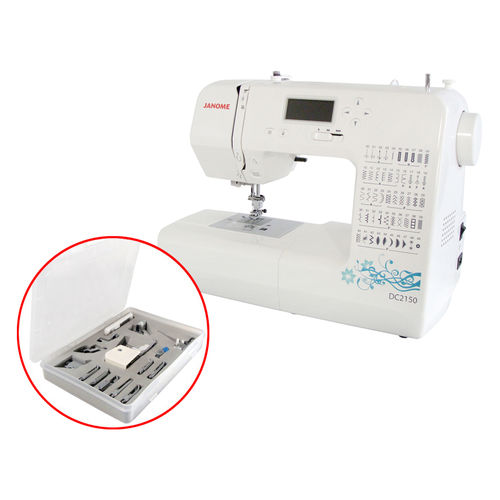
Janome DC2150 (computerised, top load, 7mm maximum width)
Overview from Janome Canada:
(Janome DC2150 is known as J1250 in the video – and while the design might look a bit different, it’s essentially the same machine)
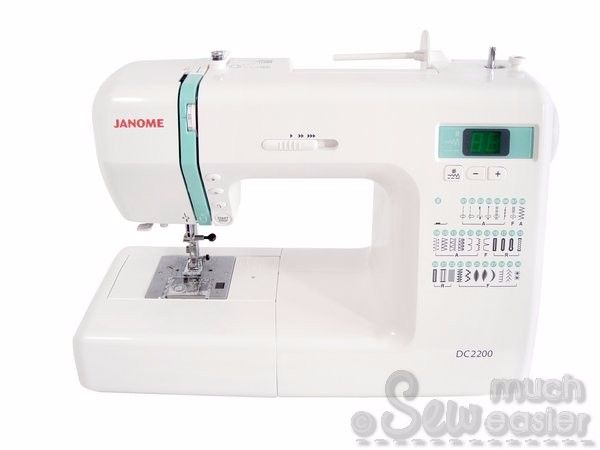
Janome DC2200 (computerised, top load, 7mm maximum width)
Overview from Janome Canada:
(Janome DC2200 is known as M1250Q in the video – and while the design might look a bit different, it’s essentially the same machine)
Any of these three models should get you started on your sewing adventure.
So if you have your heart set on one, and simply can’t wait to get started, Order Yours Now so you don’t miss out ![]()
Until Next Time, Happy sewing!
xoxox
P.S. Still want more? Here's a FREE Comprehensive eBook for you:
Download it Now - it's yours.
You'll find heaps of useful (yet non-boring) information to actually help turn an overwhelming decision into something fun that everyone can enjoy - no matter where you are in your sewing journey :-)
Enjoy!


